Eight Step Peptide Reconstitution for Researchers With COA Driven Math
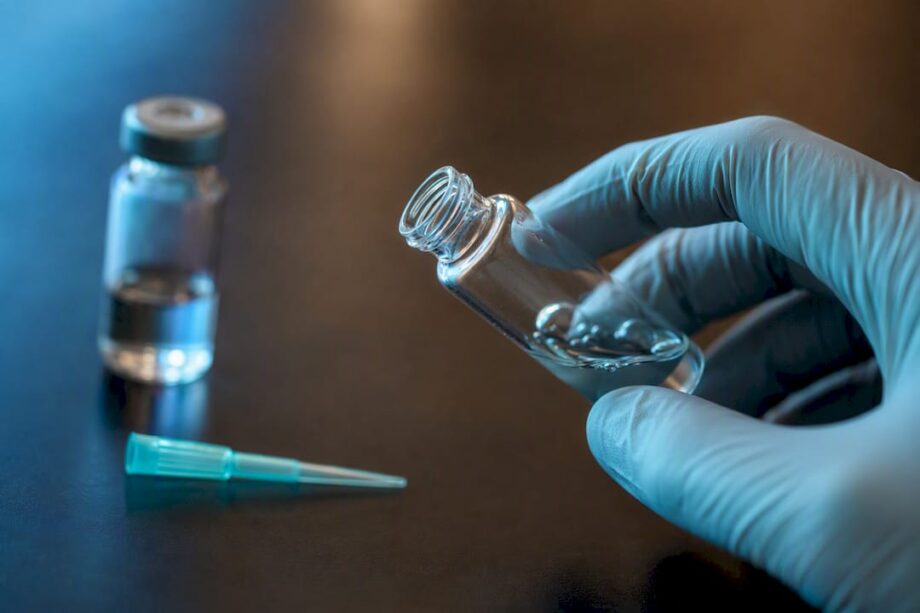
Default to bacteriostatic water for multi-draw research peptide vials, but treat the product label or Certificate of Analysis as the final word every time. The single technique that determines whether your peptide survives intact: inject the diluent slowly down the interior vial wall at an angle and avoid shaking or vortexing the vial. Work out your concentration math before you draw a single dose into a syringe.
TL;DR:
- Always verify the peptide’s Certificate of Analysis for net peptide content, solubility notes, and stability data before reconstitution.
- Inject diluent slowly down the vial wall at an angle and swirl gently to prevent denaturation and maintain solution stability.
- Use bacteriostatic water for multi-draw vials unless specified otherwise, and recalculate concentration if switching solvents like acetic acid.
- Store reconstituted peptides in labeled vials at 2 to 8°C, avoiding freeze-thaw cycles, and aliquot for long-term storage to preserve integrity.
- Confirm calculations and vial conditions with a second person whenever precise dosing or critical experiments are involved.
Table of Contents
- What You Need Before You Start Peptide Reconstitution
- Step-by-Step Reconstitution Protocol
- How Do You Calculate Peptide Concentration and Dose Volume?
- Which Solvent Should You Use for Peptide Reconstitution?
- How Long Does Reconstituted Peptide Last in Storage?
- Why Is My Reconstituted Peptide Cloudy or Slow to Dissolve?
- Why COA-Verified, HPLC-Tested Peptides Change Your Reconstitution Math
- What Habits Actually Prevent Reconstitution Mix-Ups?
- Get COA-Verified Research Peptides Built for This Exact Protocol
- Sources
What You Need Before You Start Peptide Reconstitution
Grab your supplies and your paperwork before you break the vial seal. A rushed setup is where most reconstitution errors start.
- A 1 to 3 mL syringe for reconstitution (adding diluent to the vial)
- A U-100 insulin syringe, typically 27 to 31 gauge, for measuring and drawing individual research doses
- Alcohol swabs, a clean nonporous surface, and gloves
- The peptide’s Certificate of Analysis and manufacturer label
Read the COA before touching the vial. It tells you the net peptide mass versus salt-form mass, which changes your concentration math, along with any solubility or stability notes specific to that batch. If vials came from cold storage or transit packaging, let them reach room temperature first. Condensation on a cold stopper can introduce moisture or contaminants once you swab and puncture it.
Step-by-Step Reconstitution Protocol
The sequence below follows CDC injection safety principles for aseptic handling, adapted for lab-based peptide work.
- Clean your workspace and wash your hands thoroughly before opening any packaging.
- Swab both the peptide vial stopper and the diluent vial stopper with alcohol and let them air dry.
- Draw the exact diluent volume specified by the COA or label into your reconstitution syringe.
- Insert the needle at an angle and inject the diluent slowly down the interior glass wall, never directly onto the lyophilized powder.
- Let the vial sit for a minute, then gently swirl or roll it between your palms until the powder fully dissolves.
- If dissolution is slow, wait a few more minutes and swirl again rather than agitating harder.
- Label the vial immediately with compound name, concentration, reconstitution date, and lot number.
- If you plan to store long-term, aliquot into single-use vials before freezing.
Direct injection onto the powder and any shaking motion both create foam and air-liquid interfaces, and that interface is exactly where surface-induced stress drives protein denaturation and aggregation. The wall technique isn’t a formality. It’s the mechanical difference between a clear, stable solution and a cloudy, degraded one, a point reinforced in detailed reconstitution walkthroughs that emphasize the down-the-glass approach.
Pro Tip: Tilt the vial slightly while swirling instead of setting it flat on the counter. The slight rotation moves diluent across undissolved powder at the bottom without introducing the turbulence a flat swirl can create.
How Do You Calculate Peptide Concentration and Dose Volume?
The math follows one chain: milligrams to micrograms, then micrograms per milliliter, then milliliters per dose, then syringe units. Get this wrong and every dose downstream is wrong too.
The formula: convert vial mass (mg) to mcg by multiplying by 1,000. Divide that by your diluent volume in mL to get concentration (mcg/mL). Divide your target dose (mcg) by the concentration to get mL per dose. Multiply mL by 100 to read units on a U-100 insulin syringe.
Example 1: A 5 mg vial reconstituted with 2 mL of diluent gives 5,000 mcg ÷ 2 mL = 2,500 mcg/mL. A 250 mcg dose requires 250 ÷ 2,500 = 0.1 mL, or 10 units on a U-100 syringe.
Example 2: A 10 mg vial reconstituted with 2 mL gives a higher concentration, so a 250 mcg dose corresponds to a smaller volume and fewer syringe units accordingly.
Before drawing anything, run this checklist:
- Confirm the vial mass is net peptide, not total salt-form weight, per the COA
- Confirm your diluent volume matches what you actually drew
- Confirm you’re reading a U-100 syringe correctly (100 units = 1 mL)
- Have a colleague verify the math independently for any critical experiment
The formula chain here follows the same conversion logic used across step-by-step reconstitution calculators, and it’s worth internalizing rather than re-deriving every time.
Which Solvent Should You Use for Peptide Reconstitution?
Bacteriostatic water, containing 0.9% benzyl alcohol as a preservative, is the standard choice for multi-draw vials because that preservative keeps the solution usable across repeated withdrawals. Sterile water lacks a preservative and should be treated as single-use only.
- Default to bacteriostatic water unless the COA or manufacturer specifies otherwise
- Use dilute acetic acid (typically well under 1%) for peptides prone to gel formation, most notably certain longer-chain research peptides, following manufacturer ratios exactly
- Use a small DMSO pre-dissolution step only when the label calls for it, since DMSO carries its own handling and compatibility considerations
- Consider 0.22 μm sterile filtration when sterility matters more than maximum yield, understanding that some peptide mass will adsorb to the filter membrane and reduce your final concentration slightly
Pro Tip: If a peptide clouds or gels with bacteriostatic water but the COA allows an acidic alternative, don’t just swap solvents blindly. Recalculate your concentration, since acid-based reconstitution sometimes uses different volumes than the standard protocol.
How Long Does Reconstituted Peptide Last in Storage?
Lyophilized (freeze-dried) peptide stored properly, away from light and moisture, tends to remain stable for extended periods. Once reconstituted, bacteriostatic water solutions commonly orient users toward a refrigerated window of several weeks, though this is a general reference point, not a universal rule. Your specific COA and product label override that number every time.
- Store reconstituted vials refrigerated at 2 to 8°C, not frozen, unless the label says otherwise
- Label every vial with compound, concentration, reconstitution date, and lot number the moment you finish mixing
- Aliquot into single-use portions before freezing anything intended for longer storage
- Never refreeze and rethaw the same vial repeatedly; each cycle stresses the peptide structure
Splitting a batch into aliquots right after reconstitution, a practice standard across careful lab protocols, costs you a few extra minutes and saves you from degrading an entire vial through repeated freeze-thaw cycles.
Why Is My Reconstituted Peptide Cloudy or Slow to Dissolve?
Cloudiness right after mixing usually resolves with a few minutes of rest and a gentle swirl. Persistent turbidity that doesn’t clear is a different problem entirely.
- If the solution is cloudy immediately after mixing, wait 2 to 3 minutes and swirl gently again before judging it
- If cloudiness or visible particulate persists beyond that, discard the vial rather than risk using compromised material
- If the peptide forms a gel instead of dissolving, add diluent in small increments and recalculate your concentration after each addition
- If dissolution is unusually slow across multiple attempts, check the COA for solubility notes specific to that batch
Escalate to your supplier when you see a damaged seal, an unexpected color, or any mismatch between what the COA claims and what you’re observing in the vial. Vendor guidance across peptide reconstitution resources consistently treats visual inspection as a mandatory checkpoint, not an optional one, precisely because a compromised vial entering an experiment can quietly invalidate results long before anyone traces the problem back to storage or mixing error.
Why COA-Verified, HPLC-Tested Peptides Change Your Reconstitution Math
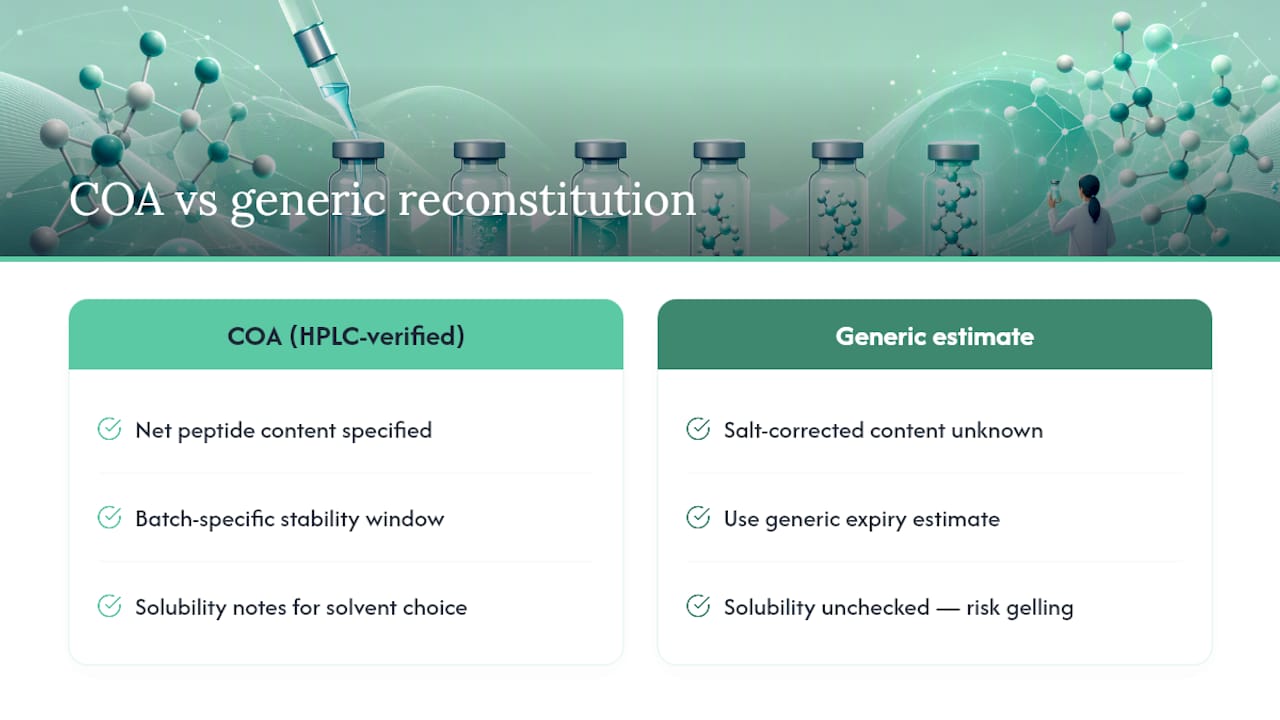
A Certificate of Analysis isn’t paperwork you file away. It tells you the actual net peptide content versus salt mass, which directly changes your concentration calculation, and it specifies the batch-specific stability window that should govern your discard date rather than a generic estimate. Reading a COA properly means checking solubility notes before you pick a solvent, not after you’ve already got a gelled vial. That’s the traceability Peptélia builds into every batch with independent, HPLC-verified testing.
What Habits Actually Prevent Reconstitution Mix-Ups?
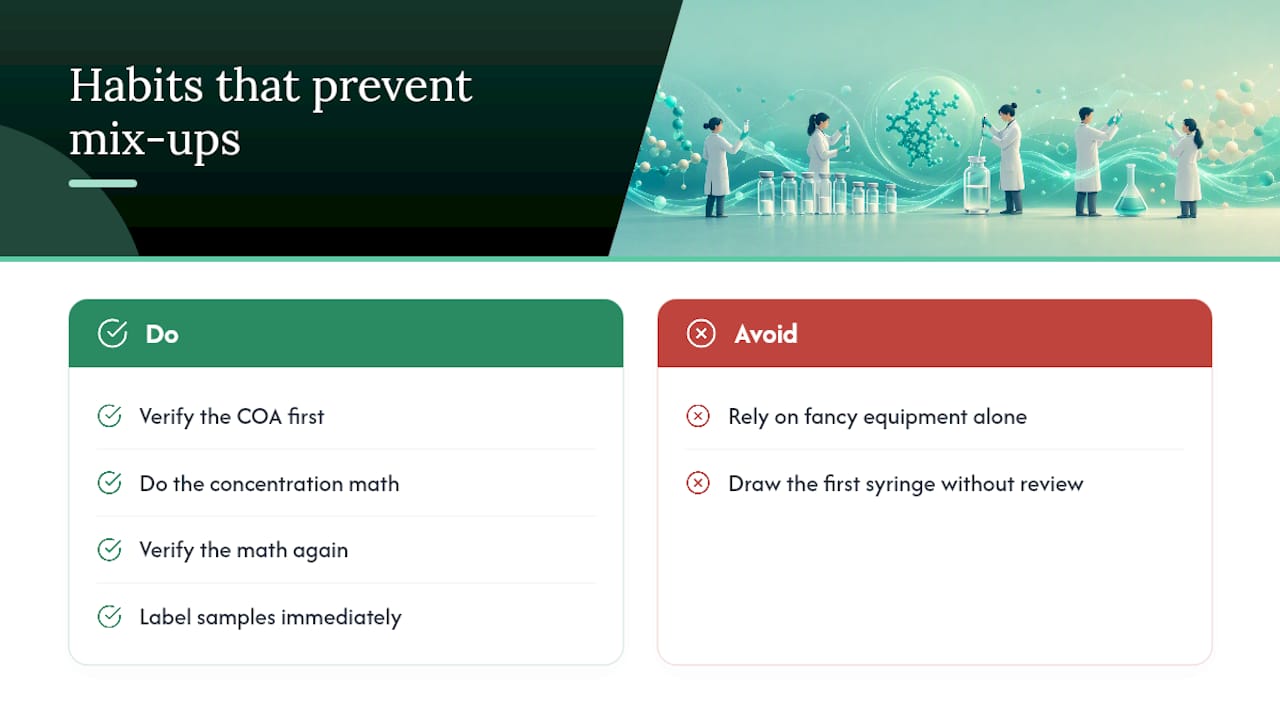
The labs that avoid mix-ups aren’t the ones with the fanciest equipment. They’re the ones with a checklist taped near the hood: verify the COA, do the math, verify it again, label immediately.
For any experiment where dosing accuracy actually matters, get a second set of eyes on the concentration math before you draw the first syringe. It costs thirty seconds and catches the decimal-point errors that cost weeks.
— Max
Get COA-Verified Research Peptides Built for This Exact Protocol
Every reconstitution calculation in this guide depends on one thing you can’t calculate your way around: knowing your vial’s actual net peptide content.

Before you reconstitute anything, check the COA for that specific lot’s solubility notes and stability data. It’s the difference between guessing and knowing. Peptélia’s product quality and testing page walks through exactly how that HPLC verification works, and if you’re ready to start with a peptide built for reliable reconstitution, the SELANK 10mg research peptide page has its COA and specifications listed for review before you order.
Sources
For deeper reference, consult CDC injection safety guidance, peer-reviewed work on protein aggregation mechanisms, and DailyMed for formulation-specific labeling. Always treat your product’s own label and COA as the first authority.
This article is general information, not a substitute for advice from a qualified doctor. Consult a qualified healthcare professional about your own circumstances before acting on anything here.
- Surface-induced denaturation and aggregation of proteins (PubMed)
- CDC injection safety (clinical safety guidance)
- Peptide reconstitution guide (Peptide-Calc)